Grafana is a very useful tool for monitoring your own programs, discovering silly bugs, or simply looking at beautiful graphs :)
Another feature is "Alerts". These can be configured arbitrarily, whether high CPU load, too many errors in the log, or similar should trigger an alarm.
This post won't be about the alerts themselves, but rather about sending already configured alerts to Mastodon. These are called Contact Points in Grafana and initially don't offer Mastodon integration. However, this can be worked around with a few simple steps.
Mastodon
First, we need some preparation, because of course not just any random application can post to Mastodon under our name (thankfully).
Therefore, we log into the instance of our choice, select Settings and then Development. This should look something like this:
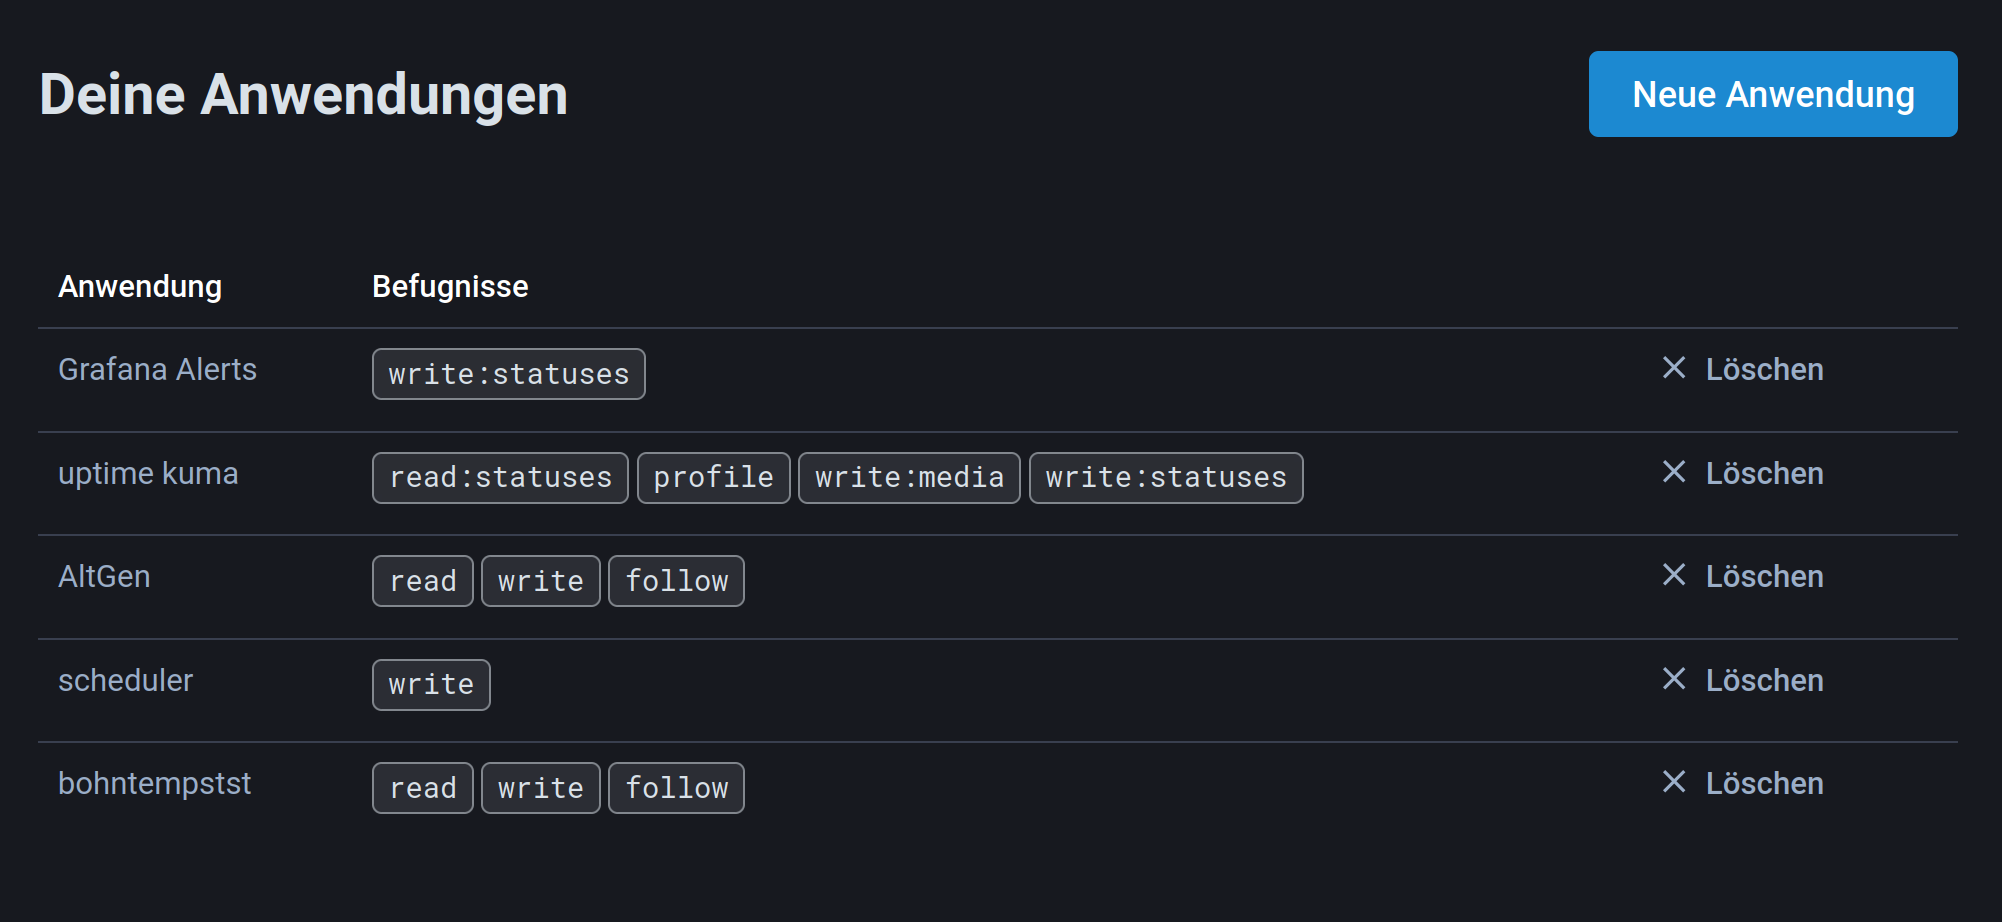
(If the list is empty, it means you haven't created any applications yet. If it's not empty, you don't need this part of the tutorial at all, because you've already done this before 😀)
Click on New Application here and choose a name. Leave the other two text fields as they are:
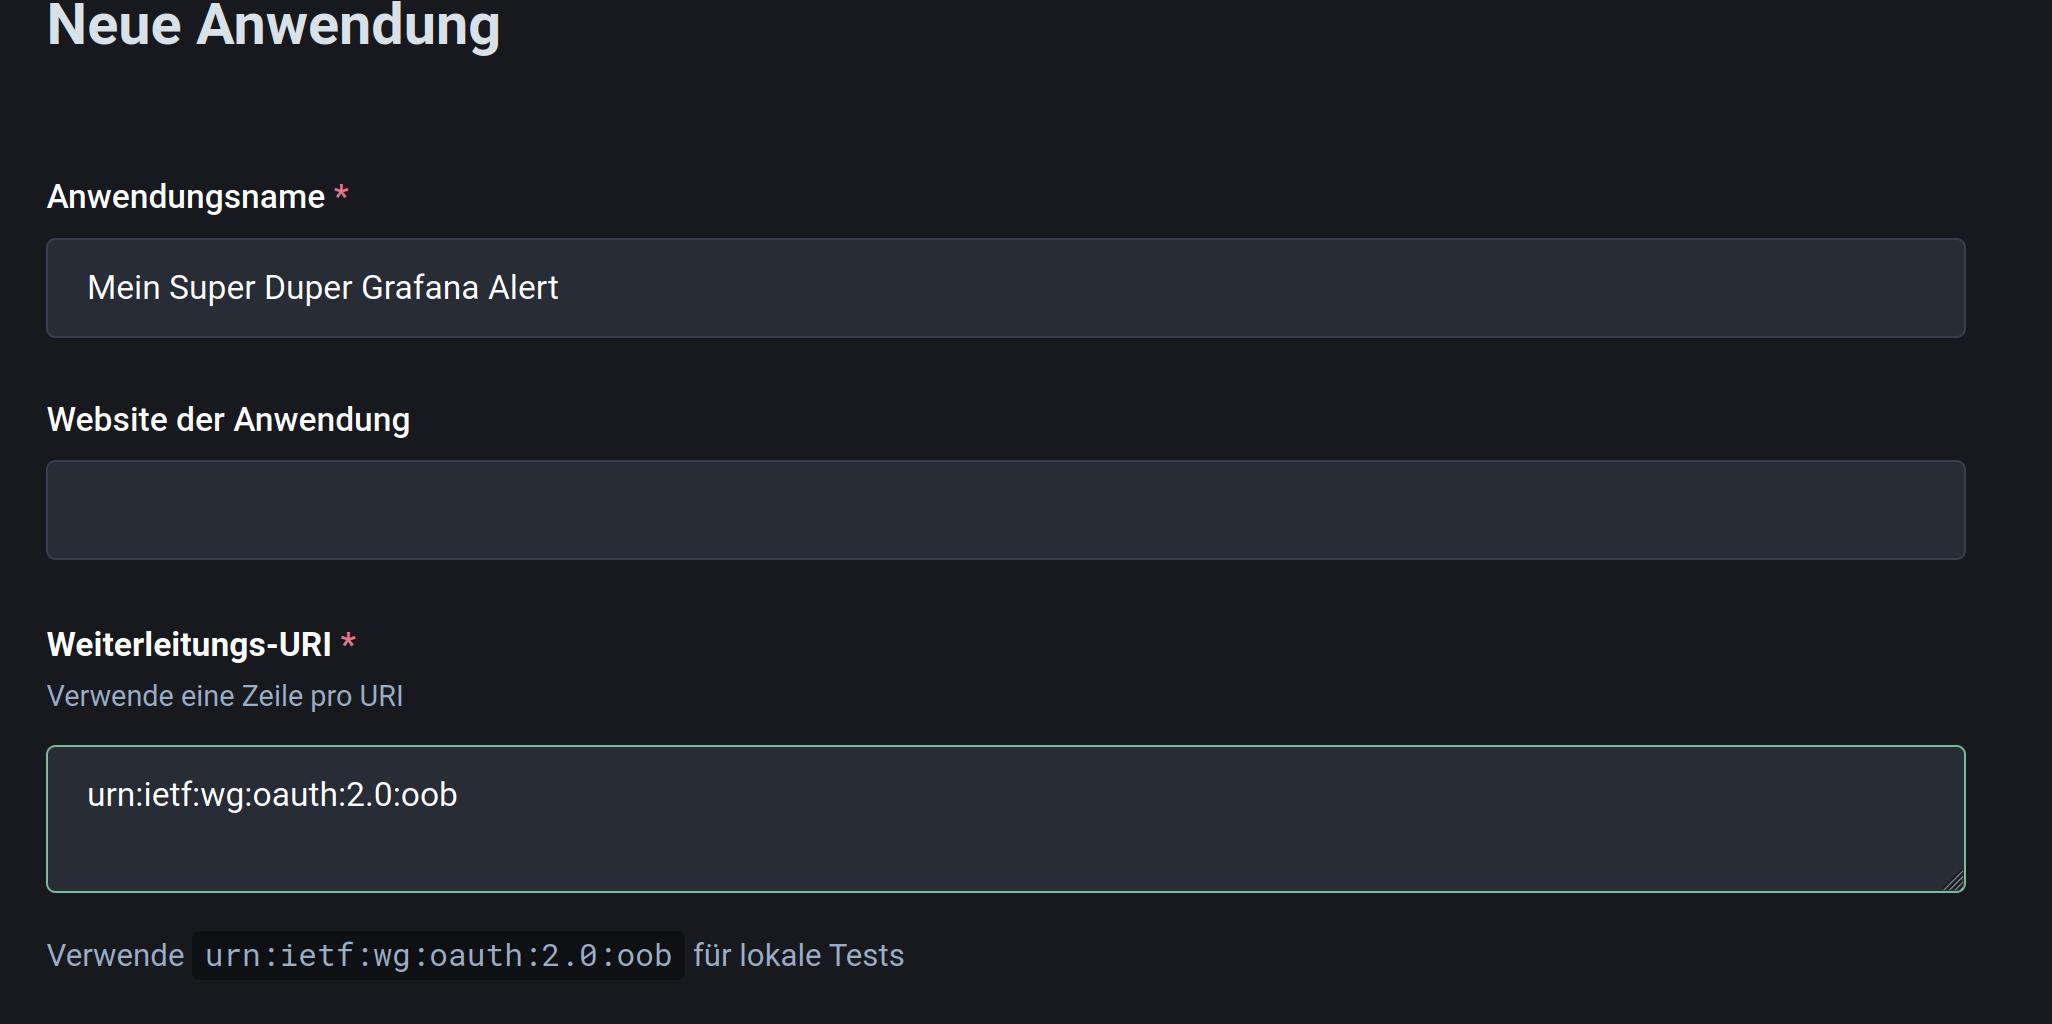
For permissions, you only need "write:statuses".
You should now see a page showing the secrets. You only need the access token (bottom value) from this.
Grafana
Now we can switch to Grafana. There's a menu item called Contact points under Alerting. At least Email should already appear in the list. We now add a new destination with "+ Create contact point":
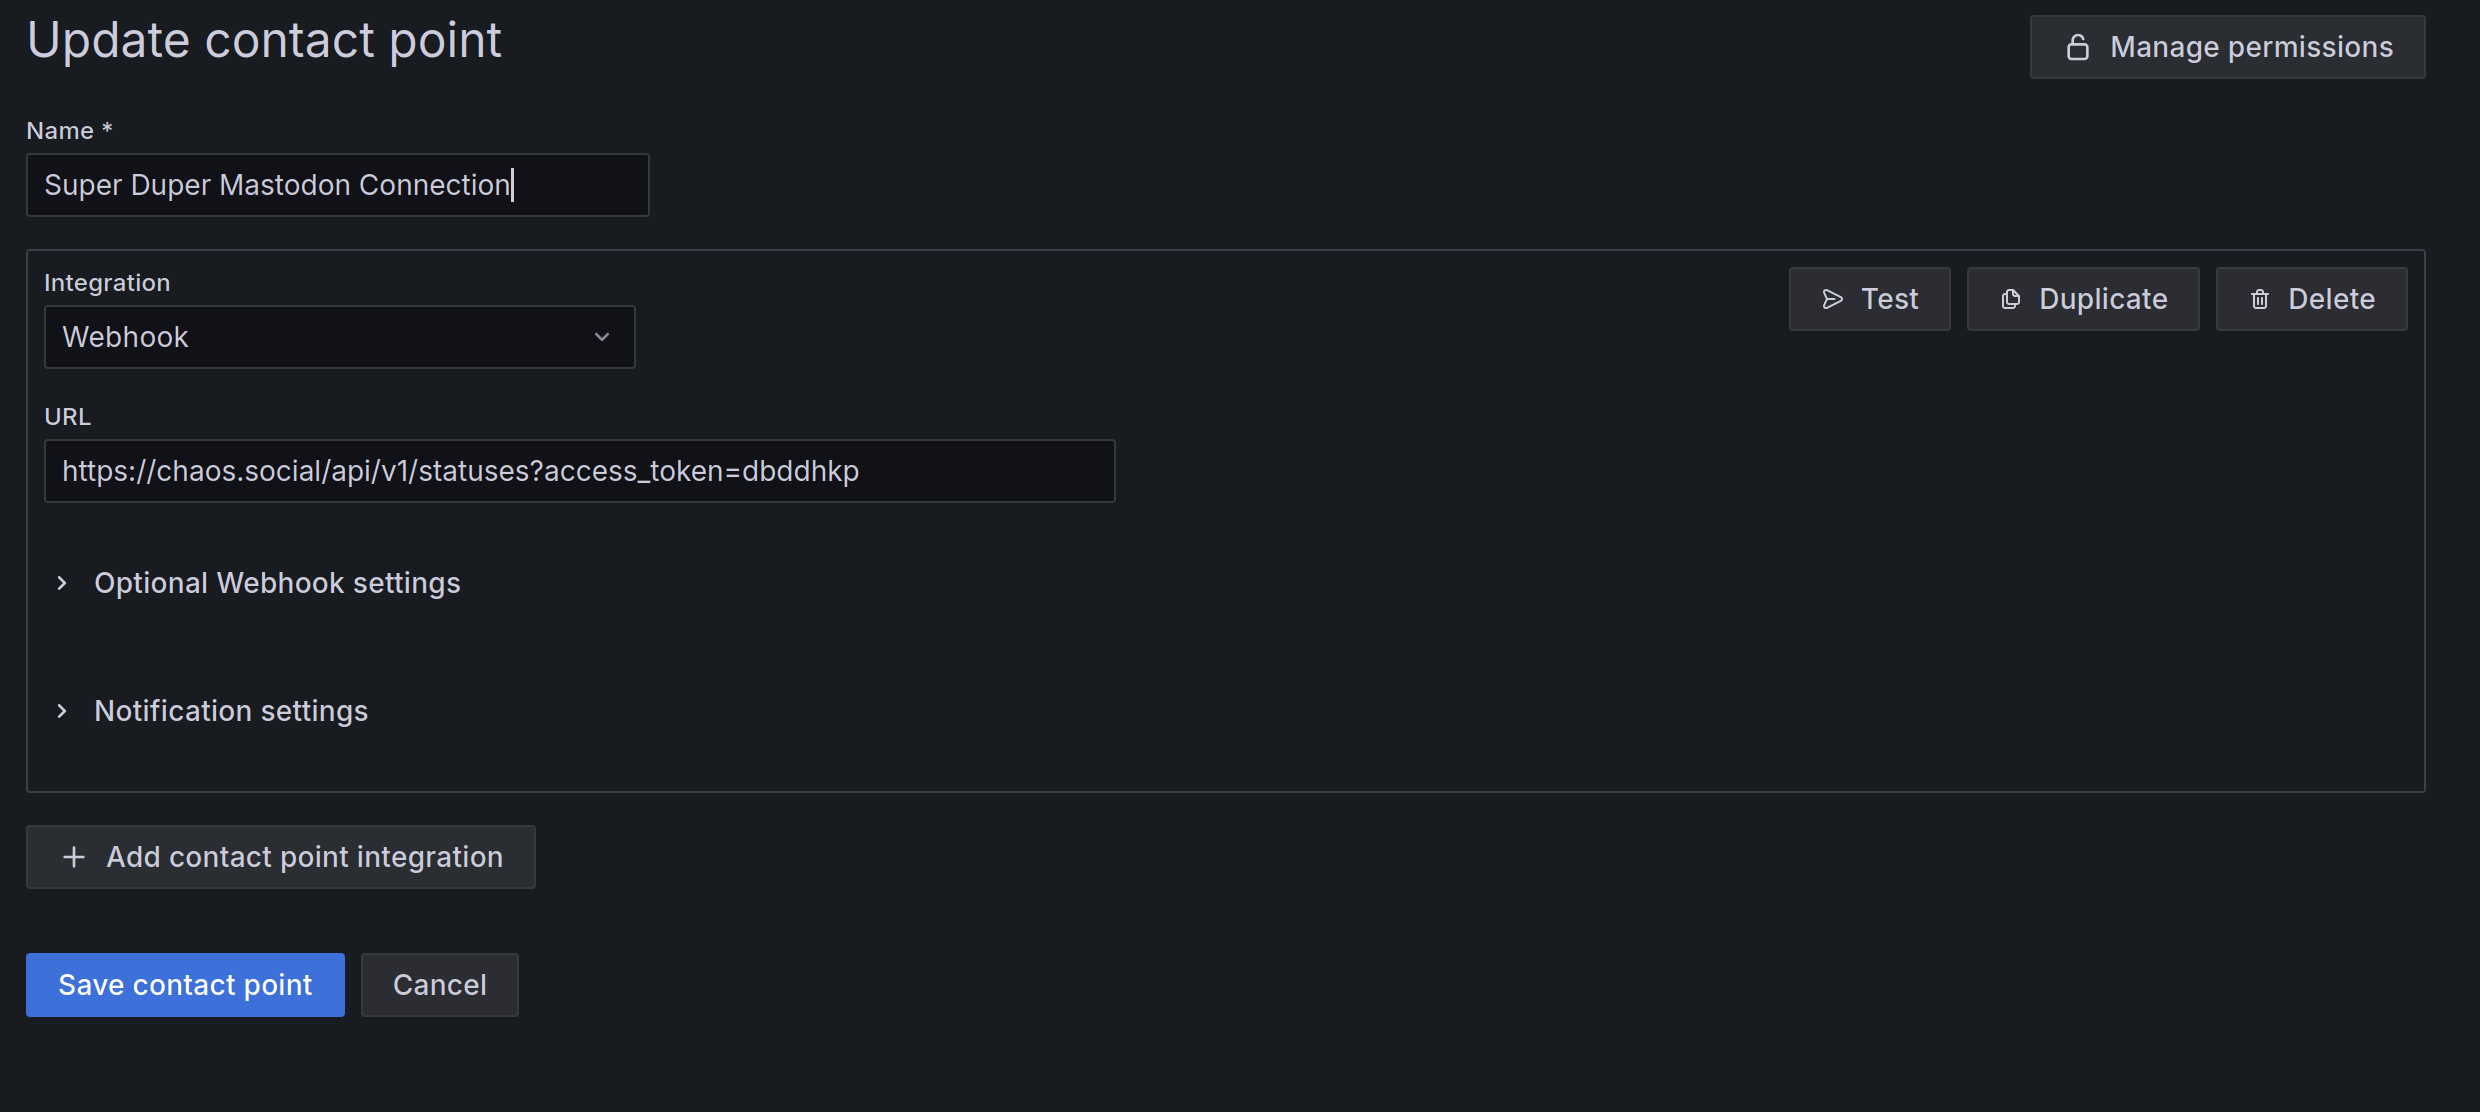
The name is of course freely selectable, for integration choose Webhook
For the URL, enter the following:
https://chaos.social/api/v1/statuses?access_token=<Secret>
Instead of 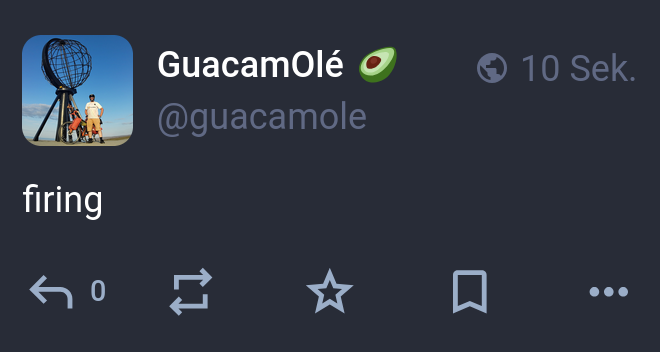
Getting Down to Business
That's nice for starters, but we obviously can't do much with just "firing". We want to see the actual error. Also, we probably don't want to inform the whole world. It makes more sense to simply mention ourselves and set the visibility to "direct".
To do this, we open Optional Webhook Settings, set HTTP Method to POST and click the "Edit Payload Template" button next to Custom Payload. A new window pops up and after we've selected Enter custom payload template there, we can enter the following content:
{
  "status": "Alert: {{ .CommonLabels.alertname }}\nStatus: {{ .Status }}\n{{ range .Alerts }}{{ .Annotations.summary }}{{ end }}"
}
Now the alert is already a bit more meaningful:
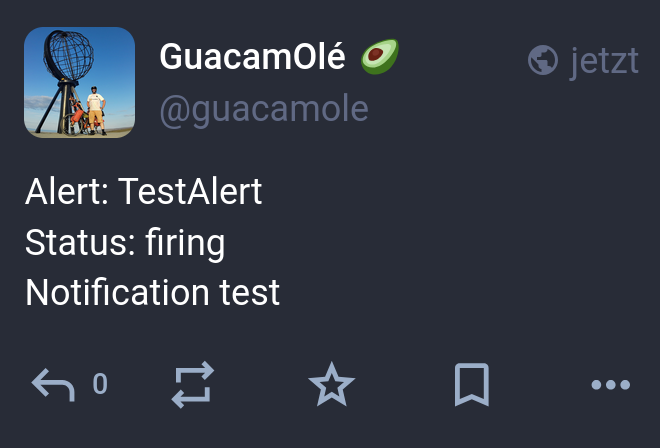
Still missing the private mode. This can be set via Visibility. Additionally, it's best to mention yourself. (I've modified my name slightly here so you don't make a copy-paste mistake :) )
While we're at it, I've also used the spoiler-text.
{
  "status": "@guacamoleeeee {{ .CommonAnnotations.summary }}",
  "visibility": "direct",
  "sensitive": false,
  "spoiler_text": "🚨 {{ .CommonLabels.alertname }} {{ .Status }}",
  "language": "en"
}
The result is then as follows:
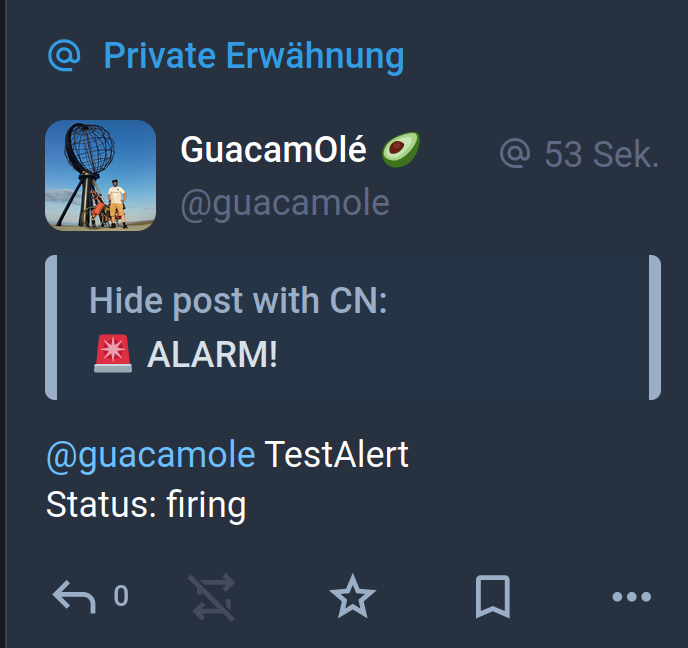
A complete list of Mastodon properties can be found here: https://docs.joinmastodon.org/methods/statuses/
Have Fun
Wishing you many alerts might be a bit strange, but I hope I could help with this.